


Quick Summary
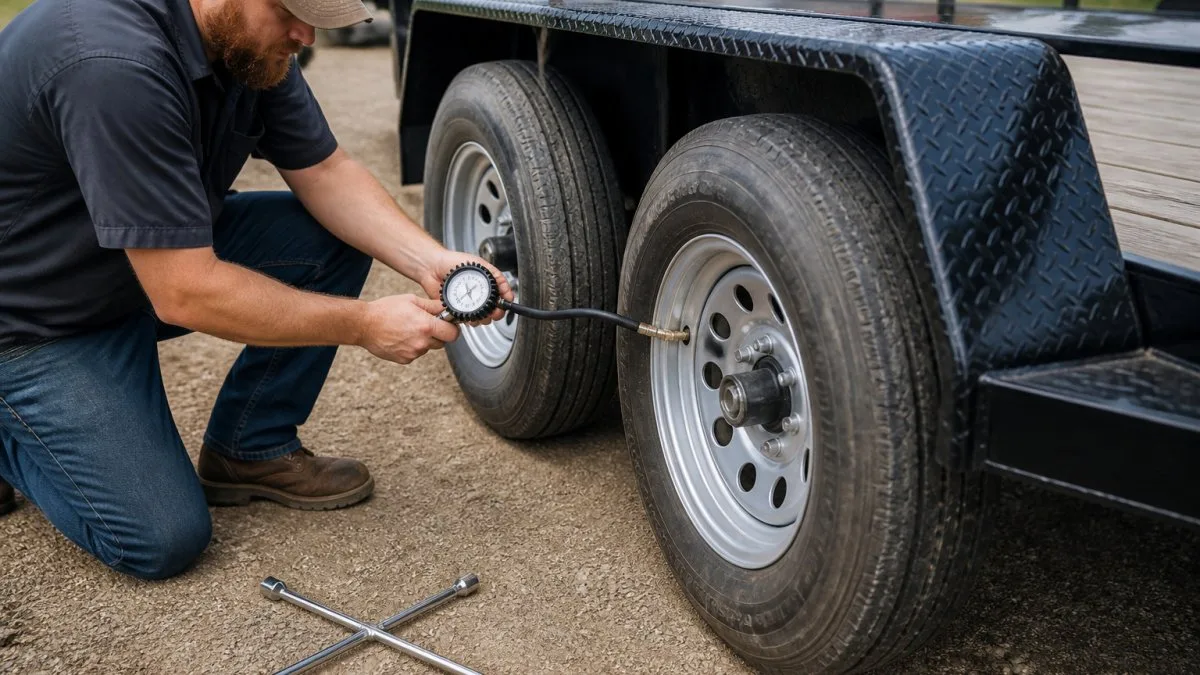
To maintain trailer tires properly, check cold pressure before every trip against the placard value, not the sidewall maximum. Inspect for cracks, cuts, and tread wear monthly, and replace tires by age and condition. Keeping a simple log helps catch slow leaks and wear trends early.
- Check tire pressure before every trip, when the tires are cold.
- Use the placard pressure on the trailer frame, not the sidewall maximum.
- Read the DOT date code and plan replacement by age, around five to six years.
- Replace tires that show sidewall cracks, bulges, or tread worn to the wear bars.
- Keep a one-page inspection log to spot slow leaks and wear patterns.
Table of Contents
- Why Trailer Tire Maintenance Matters for Hauling Safety
- Step 1: Check Trailer Tire Pressure Before Every Trip
- Step 2: Run a Trailer Tire Inspection Checklist
- Step 3: Avoid Overloading and Protect Tires on the Road
- Step 4: Know When to Replace Trailer Tires
- Step 5: Store Trailer Tires Properly During Long Periods Out of Use
- Building a Simple Trailer Tire Maintenance Schedule
- Frequently Asked Questions
Why Trailer Tire Maintenance Matters for Hauling Safety
Last Updated: October 30, 2026
Trailer tires carry the full weight of your load, and most drivers only think about them when something goes wrong.
Trailer tires work hard. They often run loaded, sit between trips, and face heat, sun, and rough roads.
Here is what good maintenance protects against:
- Sudden blowouts on the highway
- Uneven wear that shortens tire life
- Trailer sway and poor handling under load
The seven steps below cover pressure, inspection, load management, replacement, storage, and a schedule you can follow. None requires special tools beyond a tire gauge and a flashlight.
Step 1: Check Trailer Tire Pressure Before Every Trip
Check tire pressure before every trip, when the tires are cold, before you have driven more than a few miles. Browse trailers for sale in Louisiana that come ready for safe hauling.
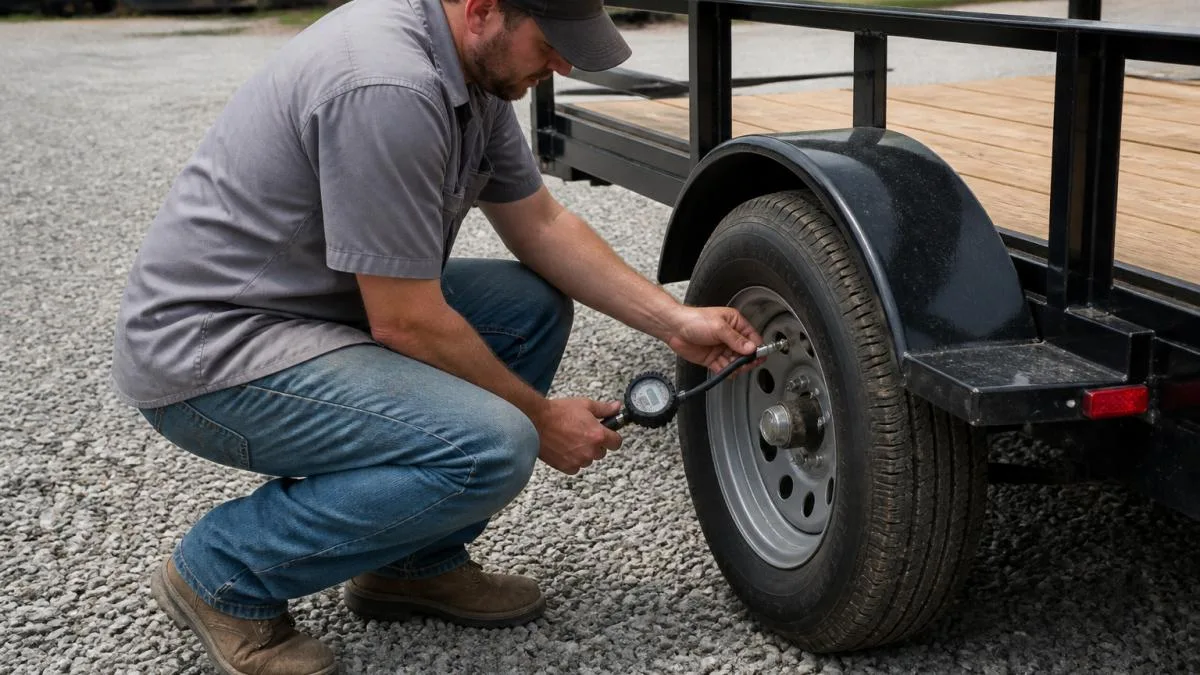
Use a quality tire gauge and check each tire, including the spare. Don't rely on how a tire looks; it can appear full and still be well below its target pressure.
Finding the Correct PSI and Load Limits for Your Trailer
The correct pressure is not the number on the tire sidewall, which shows the maximum, not the recommended operating pressure. Look for the placard on the trailer frame or in the owner's manual; it lists the recommended PSI and maximum load for your specific trailer.
Use these checks to set the right number:
- Find the recommended cold PSI on the trailer placard
- Confirm the maximum load rating for each tire
- Adjust pressure based on the actual load you are hauling
Watch out: Never air down to a "soft" pressure to ride smoother. Underinflation is the most common cause of trailer blowouts.
Step 2: Run a Trailer Tire Inspection Checklist
A visual inspection catches problems a gauge cannot. Walk around the trailer before each trip and look at every tire, sidewall, and wheel.
Separate inspections by frequency: a pre-trip walk-around catches sudden damage, a monthly check catches slow wear, and a seasonal check catches age-related deterioration.
Pre-Trip Inspection (Every Departure)
Do this quickly, cold, before you pull out:
- Pressure checked on all tires, including the spare, and set to the trailer placard value
- Sidewalls free of cracks, bulges, cuts, and punctures
- Tread free of embedded nails, screws, or gravel
Pass/fail signs: A bulge, a cut deep enough to show cords, or a lug nut that turns by hand is a fail, do not tow. A tire that is low but holds air after inflation is a "monitor and recheck" item; note the pressure and recheck it at the next stop.
Monthly Inspection (Parked, Unloaded)
Once a month, with the trailer unhitched and unloaded, go deeper:
- Measure tread depth at the center and both edges of each tire with a tread depth gauge
- Check for cupping, scalloping, or flat spots by running a hand along the tread
- Verify lug nut torque with a torque wrench to the trailer manufacturer's spec
Pass/fail signs: Tread at or near the wear bars is a fail. A tread depth difference of more than about 2/32 inch between the center and edge of the same tire points to a pressure problem. Any lug nut that will not hold torque is a fail until the stud and nut are inspected.
Seasonal Inspection (Before and After Storage)
Twice a year, before a busy season and before long storage, add these checks:
- Read the date code on every tire (see Step 4) and note it in your log
- Look for fine sidewall cracking that indicates dry rot
- Check that all tires on an axle match in size and approximate tread depth
Diagnosing Uneven Wear and Tire Failure Causes
Tread wear is a diagnostic tool. Match the pattern to the likely cause, then fix the cause rather than replacing the tire and hoping the problem goes away.
- Wear on both edges (center high): Underinflation. Check for slow leaks, a sticking valve core, or a pressure that was set for an empty trailer and never adjusted for load.
- Wear down the center (edges high): Overinflation. Confirm you are using the placard pressure, not the sidewall maximum.
- Wear on one edge only: Alignment or axle issue. Have the axle and spindle checked; a bent axle will keep eating tires no matter how often you replace them.
When you find a wear pattern, fix the cause before installing a new tire, or the replacement will wear the same way.
Wheel Bearings and Grease Compatibility
Inspect the wheel bearings as part of the monthly check. For broader upkeep, see gooseneck trailer maintenance tips for longevity. Confirm bearing grease is present and compatible with the grease already in the hub. Mixing incompatible grease, for example, a lithium-complex grease added on top of a calcium-sulfonate grease, can cause the mixture to soften, leak, or fail to protect the bearing.
Keep a one-page inspection log in the tow vehicle. Record date, pressure per tire, tread depth, and any issue found. After three or four entries, slow leaks and wear trends become obvious.
Match tires by size and tread depth when you replace them. Mismatched tires on the same axle can cause uneven load sharing and handling problems.
The article breaks tire inspection into three schedules, each catching a different kind of problem.
| Inspection | When | What it catches |
|---|---|---|
| Pre-trip walk-around | Every departure | Sudden damage, pressure, lug nuts, grease leaks |
| Monthly check | Parked, unloaded | Tread depth, cupping, lug nut torque, bearings |
| Seasonal check | Before busy season and storage | Date codes, dry rot, tire matching, placard |
Step 3: Avoid Overloading and Protect Tires on the Road
Overloading is one of the biggest threats to trailer tires. Every tire has a maximum load rating, and exceeding it generates heat that can cause a blowout. Learn how to secure equipment on a trailer step by step.
Keep these habits on the road:
- Load heavy items low and centered over the axles
- Stay under the trailer's maximum load rating
- Slow down on rough roads and long grades
Feel each tire after a stop. A tire that is much hotter than the others may be overloaded or underinflated. Pull over and check it before you continue.
Step 4: Know When to Replace Trailer Tires
Replacement is not just about tread. Tire age matters even when the tread looks good. Rubber breaks down over time, especially outdoors, and a trailer tire that spends most of its life parked can fail from age long before it wears out.
How to Read a Tire Date Code
Tires sold in the United States carry a DOT date code molded into the sidewall.
Look on the sidewall for the letters "DOT" followed by a serial number; the four-digit date code is usually at the end, sometimes set off in a small oval.
Record the date code for every tire, including the spare, in your maintenance log. The spare ages even while it sits unused.
Age-Based Replacement Criteria
Many tire manufacturers recommend checking tires regularly and replacing them based on age and condition, and consult the tire manufacturer's guidance for specific age limits. Use these checkpoints:
- Five to six years: Begin planning replacement, especially for tires stored outdoors or run loaded.
- Seven years: Replace tires that show any sidewall cracking, even fine cracking, or that have been run near their load limit.
- Ten years: Replace regardless of appearance. Age-related deterioration inside the tire cannot be seen from the outside.
Age is a guideline, not a guarantee. A tire stored indoors, out of sunlight, and kept inflated may last longer than one stored outdoors in full sun. A tire that has been overloaded or run underinflated may fail younger than its date code suggests.
Visible Signs That Require Replacement
Replace a trailer tire when you see any of these signs, regardless of age or tread:
- Cracks or dry rot in the sidewall, especially cracks that follow the curve of the sidewall or reach the bead area
- Tread worn to the wear bars or below the manufacturer's minimum
- Bulges or separation in the tread or sidewall, a bulge means internal cord damage and the tire is unsafe
Repair or Replace?
Not every puncture means a new tire. A single puncture in the tread area, away from the sidewall and shoulder, may be repairable with a proper plug-and-patch combination from the inside.
A tire that has been run flat should be inspected from the inside before it is returned to service. Running flat can damage the inner liner and bead, and that damage may not be visible from the outside.
Do not plug a trailer tire from the outside and call it repaired. An external plug can leak or fail under load. A proper repair requires dismounting the tire and applying an internal patch-plug.
Replacing Tires as Pairs
When you replace one tire, consider replacing the pair on that axle. This keeps tread depth and size consistent across the axle and helps both tires share load evenly.
Keep the best of the removed tires as a spare if it is still within its service life and free of damage. Label it with its date code so you know when it ages out.
Step 5: Store Trailer Tires Properly During Long Periods Out of Use
Trailers that sit for weeks or months face their own risks. Tires left in direct sunlight, on wet ground, or under heavy loads can develop flat spots and dry rot.
- Store the trailer in a covered, cool, dry place when possible
- Keep tires out of direct sunlight, which breaks down rubber
- Park on a pad or boards rather than bare, damp ground
If you park a trailer for a long time, consider raising the load off the tires with jack stands. This reduces the weight on each tire and helps prevent flat spots.
Building a Simple Trailer Tire Maintenance Schedule
A schedule turns these steps into a habit. Use this routine as a starting point and adjust it based on how often you haul and in what conditions.
- Before every trip: Check pressure, walk around the trailer, and inspect for visible damage
- Monthly: Check tread depth, lug nut torque, and wheel bearing condition
- Every 3,000 to 5,000 miles: Inspect bearings and grease, and rotate or re-evaluate tire wear
- Once a year: Check tire date codes and plan replacements for aging tires
Keep a simple log with dates, pressures, and any issues you find.
Trailer tire maintenance does not need to be complicated. Check pressure, inspect carefully, respect load limits, and replace aging tires before they fail.
Frequently Asked Questions
How often should you check trailer tire pressure?
Check trailer tire pressure before every trip, and again at least once a month during regular use. Tires lose air over time even when not in use, and checking when the tires are cold gives the most accurate reading. Compare the reading to the recommended PSI printed on the tire sidewall or on the trailer's tire placard, and adjust as needed. Trailers that sit between jobs should still be checked before the next haul.
What is the correct tire pressure for trailer tires?
The correct pressure is the cold inflation PSI listed on the tire sidewall or the trailer's certification label, not the maximum pressure printed on the tire. Trailer tires often need higher pressure than passenger vehicle tires because they carry heavy loads. Always inflate to the recommended value for the actual load you are hauling, and check the trailer's load rating before adding weight.
When should trailer tires be replaced?
Replace trailer tires when tread depth falls below 2/32 of an inch, when the tread shows uneven wear, when the sidewalls have cracks or bulges, or when the tires are about six years old, regardless of tread. Tire age is printed on the sidewall as a four-digit DOT code, where the last two digits give the year of manufacture. Tires showing any of these signs should be replaced before the next trip.
